Adjusting Entry (Job Cost) Transactions: File Upload
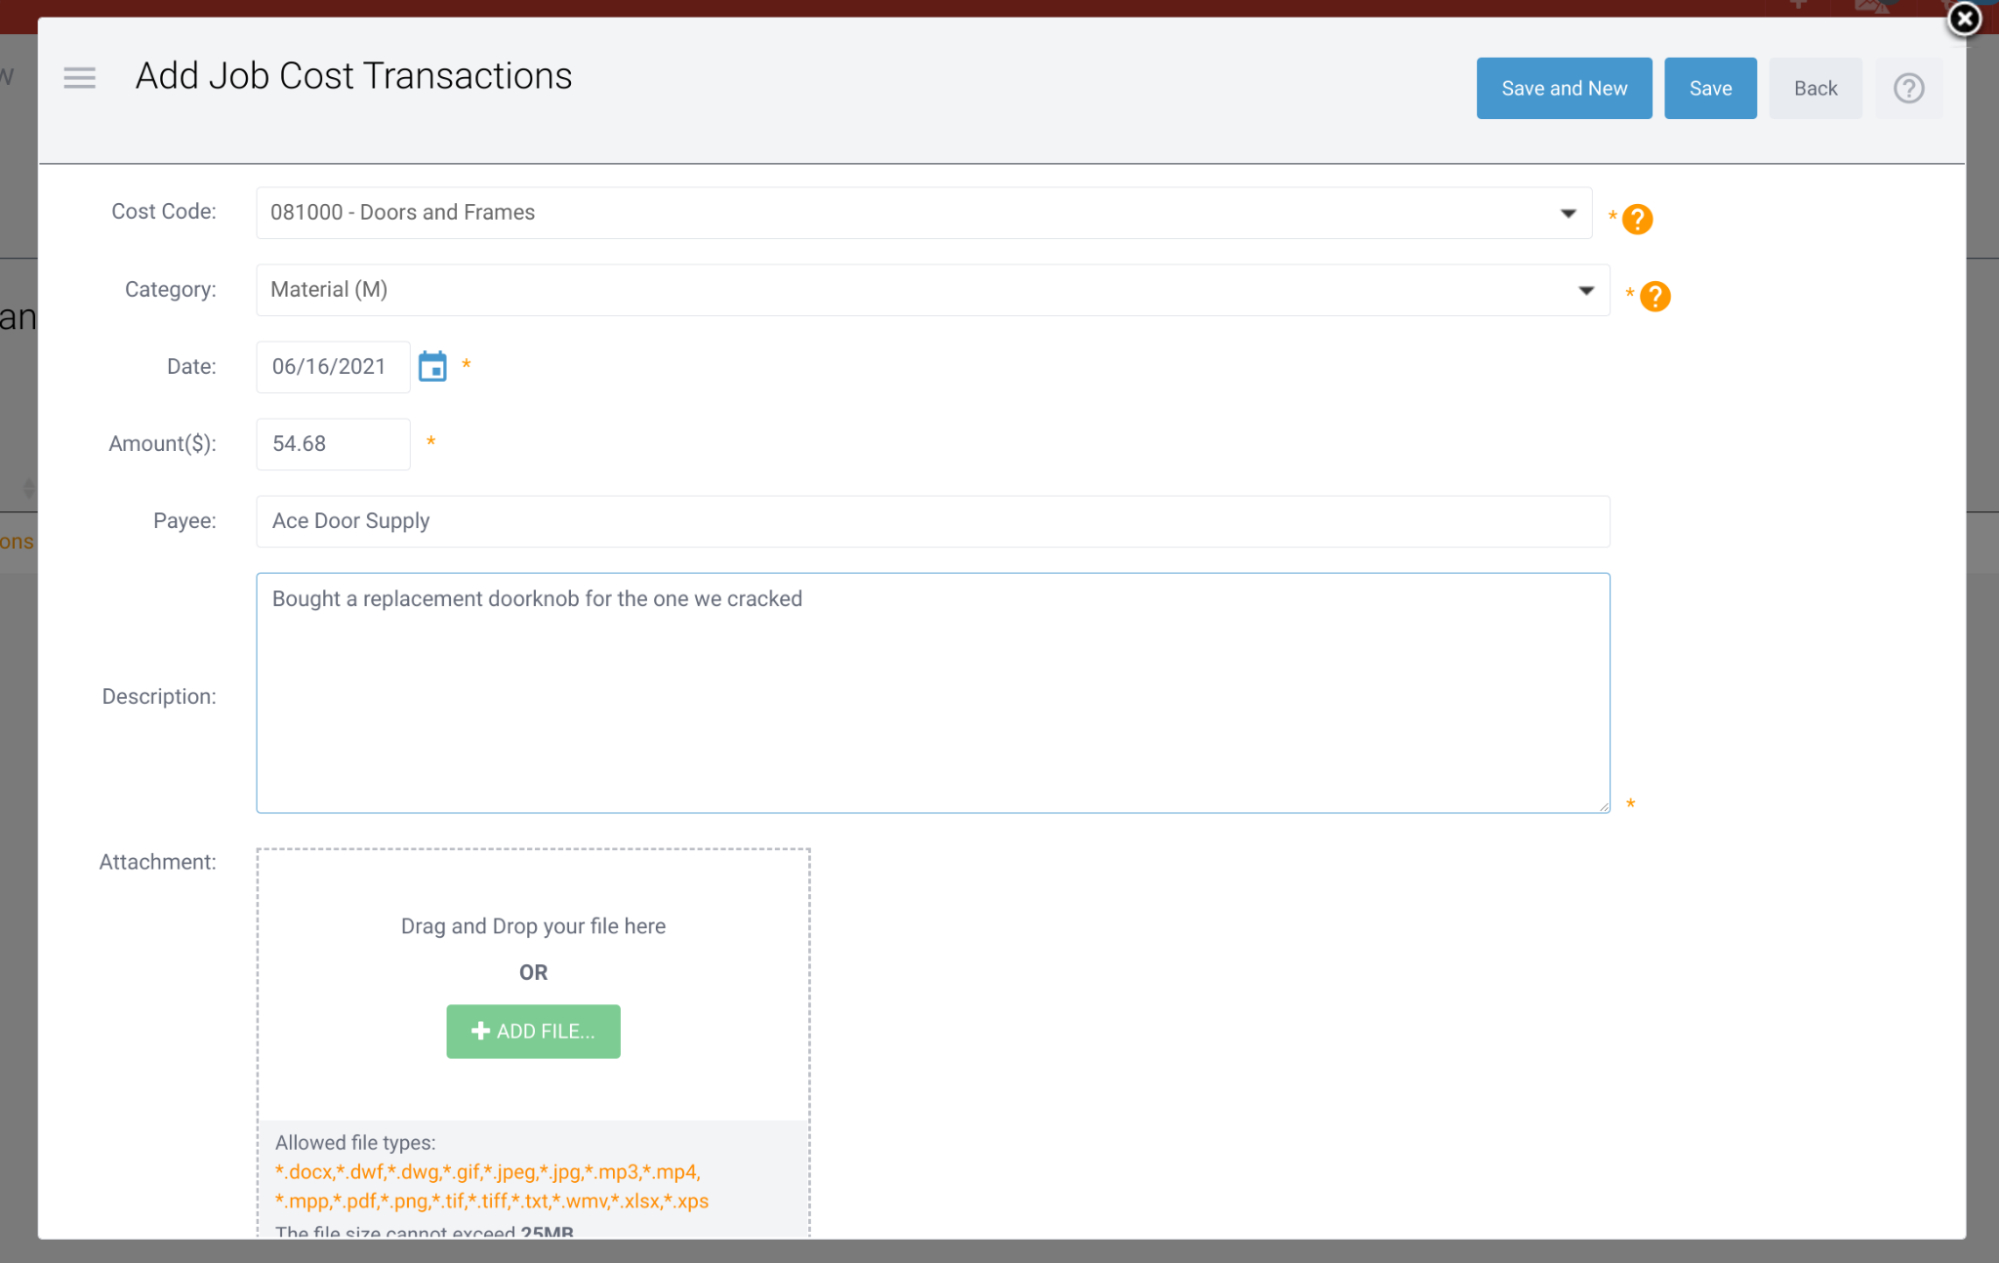
In the Transactions menu, users with the Permissions to do so may add manual job cost entries, or “Adjusting Entry Transactions” for any active Cost Code and Category on any active Project. You now have the ability to upload a file when entering one of these manual Adjusting Entries.

Who is impacted by this update?
Anybody who enters job cost manually via the Transactions menu. Typically, Project Accountants, Controllers and Admins.
Why would you use it?
If the job cost you are entering via an Adjusting Entry includes any kind of backup, such as a receipt, invoice, etc. you can upload this backup along with the Entry for reference later. It will also serve as the backup document should you pull this Entry into a Cost Plus Billing or a T&M Sheet to a Customer.
How to use this feature
To add a new Adjusting Entry, go to the Transactions menu and click the New icon. To update an existing Adjusting Entry, go to the Transactions menu > Manage icon > Adjusting Entries, and click the tools icon for the Entry you wish to Edit. For assistance with Permissions, contact your System Administrator or send us a “Help Me” from the Help Center.
Projects Financial Overview: New Filter Options
We recently released a new report in the WIP tab called the Projects Financial Overview.

Who is impacted by this update?
Anybody who managed Submittals, typically Project Managers, Project Coordinators, Project Engineers, and Admins.
Why would you use it?
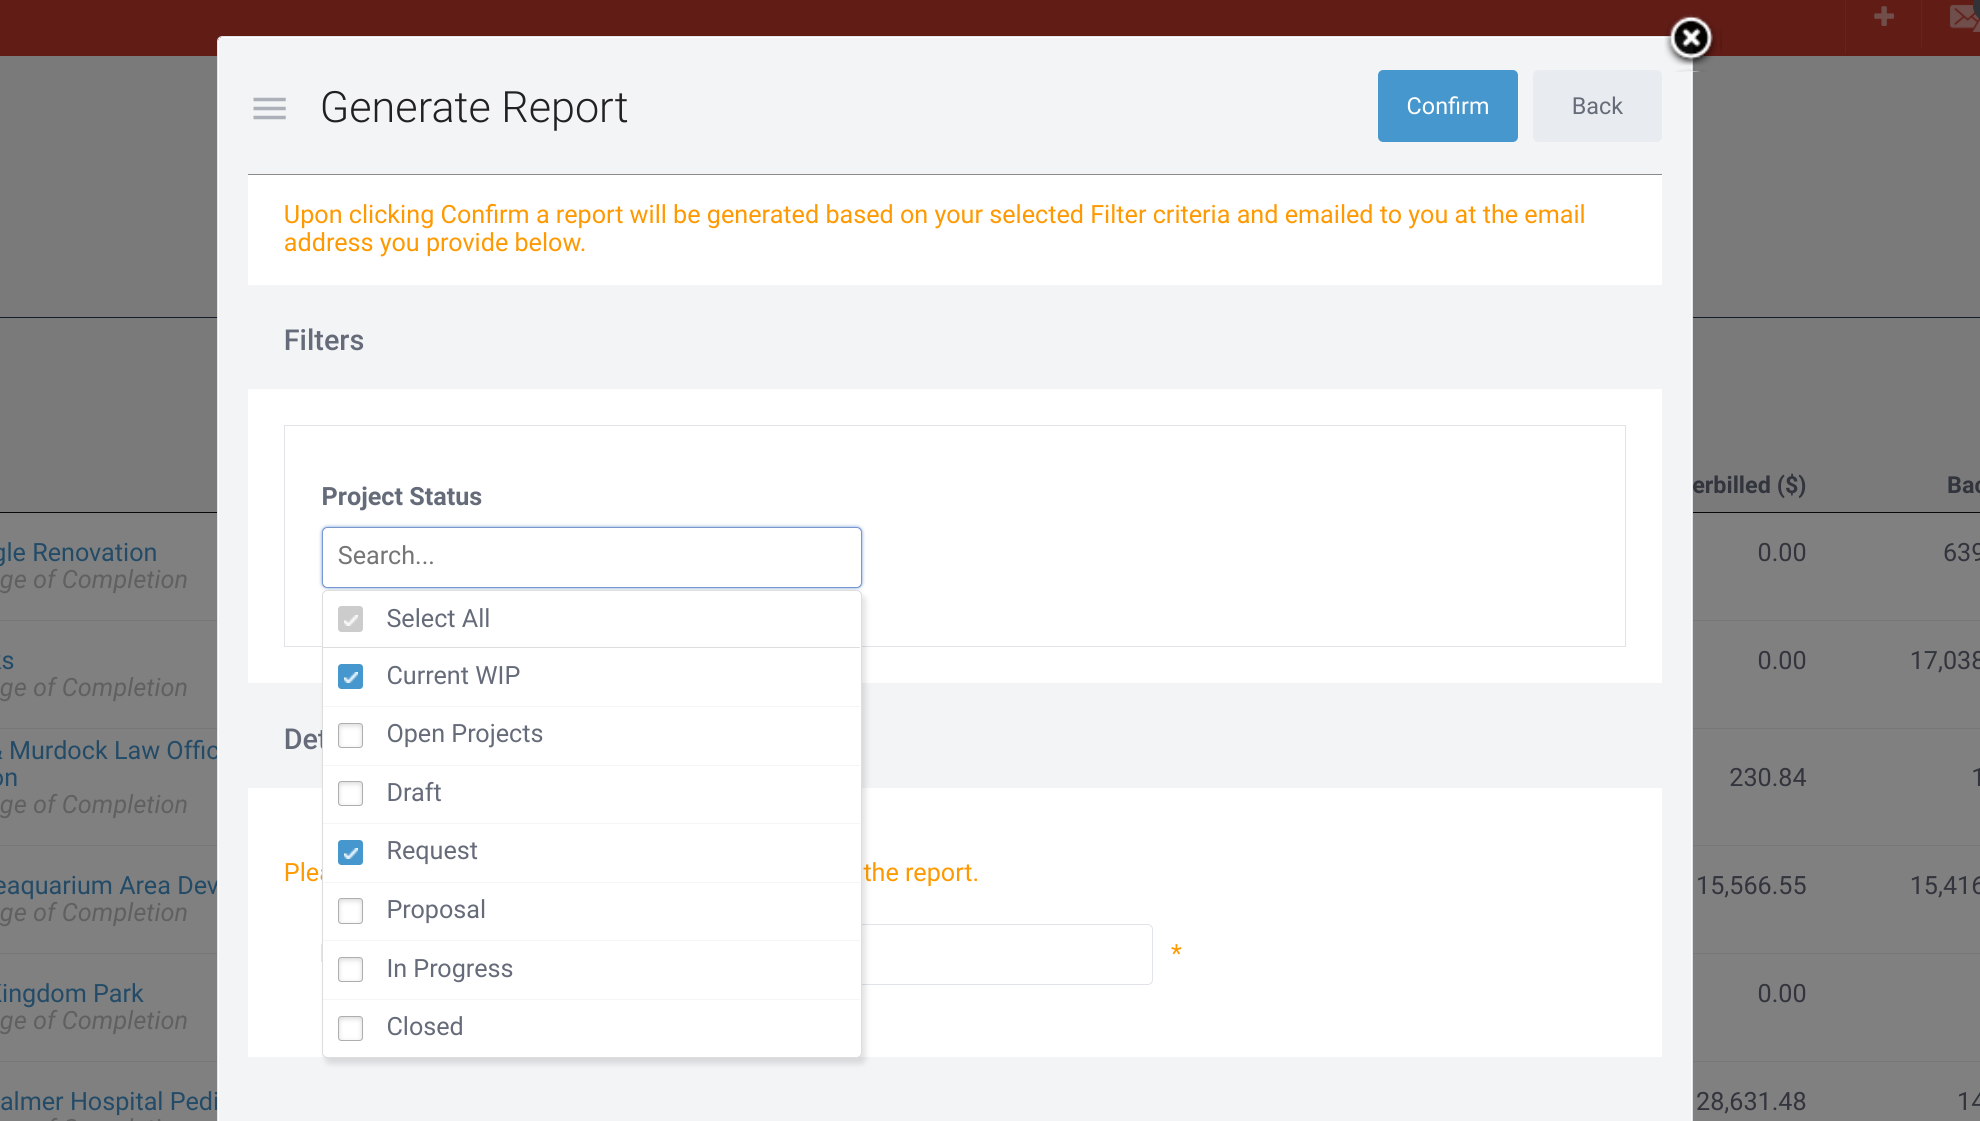
If you use the Financial Overview for each Project, you may want to compile the data from the Financial Overviews for multiple Projects, along with the WIP data. Should you want to include Projects not in the Current WIP by default (Projects In Progress and with billing or cost in the current fiscal year) then you can use the new filters to do so.
How to use this feature
In the Projects menu, go to the WIP tab and click the View icon to run the Projects Financial Overview. You will be prompted to filter if you wish to do so before running the report which will be automatically downloaded and emailed to you.
Tax Venues: Expand Rate to 3 Decimals
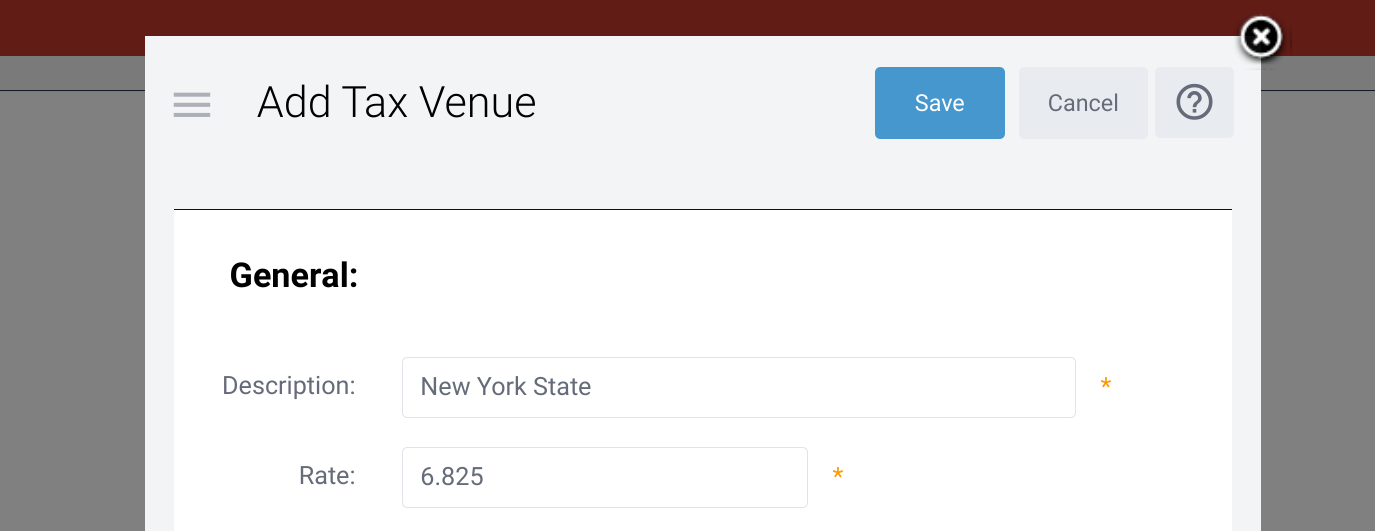
Tax Venues now support Rates with up to three decimal places, eg. 7.425%

Who is impacted by this update?
RedTeam customers who require Tax Venues with 3 decimal place Rates, and specifically their Admins who will add or update these Rates in Configuration.
Why would you use it?
If you work in a state, county, country, etc. that requires Rates with 3 decimals, you can now enter these in RedTeam and apply them to Vendor Commitments, Customer Proposals, and Customer Billing.
How to use this feature
To add a new Tax Venue, go to the Configuration menu > Tax Venues. For assistance with Permissions, contact your System Administrator or send us a “Help Me” from the Help Center.
Additional details
Click here to read more about Tax Venues.
Performance Overview: Save Selections
This is part one of a two-part release for the Performance Overview which will give greater flexibility to how your Performance Overview is organized and save those preferences. This first part will allow users to save their preferred selections for the Performance Overview.

Who is impacted by this update?
Anyone who runs a Performance Overview, often sent to clients for Project status updates. Typically Project Managers, Project Coordinators, and Admins.
Why would you use it?
The Performance Overview is often run as a status update for the Project, since it has several options of data that can be pulled from a Project. It may be sent to clients or used internally. If you often find yourself changing the selections to the same thing each time you run the report, this feature will be great for you.
How to use this feature
Run a Performance Overview by going to a Project > Home menu > Performance Overview. The “Save Selections” button will appear in the top right corner. You will only be able to “Save Selections” if you change the selections from the default. This includes changing the Title of the report. All of these options may be saved for the next time.
Event Reminders: Email Notification Update
This release is the first of releases to come for the Email Notifications sent when a Reminder Event is created in RedTeam.

Who is impacted by this update?
Anyone who sets up these Event Reminders on a Project for any of the aforementioned documents. Typically Project Managers.
Why would you use it?
If you would like to be able to quickly get a notification via email of the documents you are issuing, whether an RFI, RFS, or RFA, you can turn on the Reminder option in the Project Preferences and you will receive an email notification with the due date for the documents as they are Committed which can be added to your calendar if desired.
How to use this feature
Go to a Project and open the Preferences, scroll down to the Reminder options and turn on.
FieldShare: Manage, Add, & Edit Project Checklists
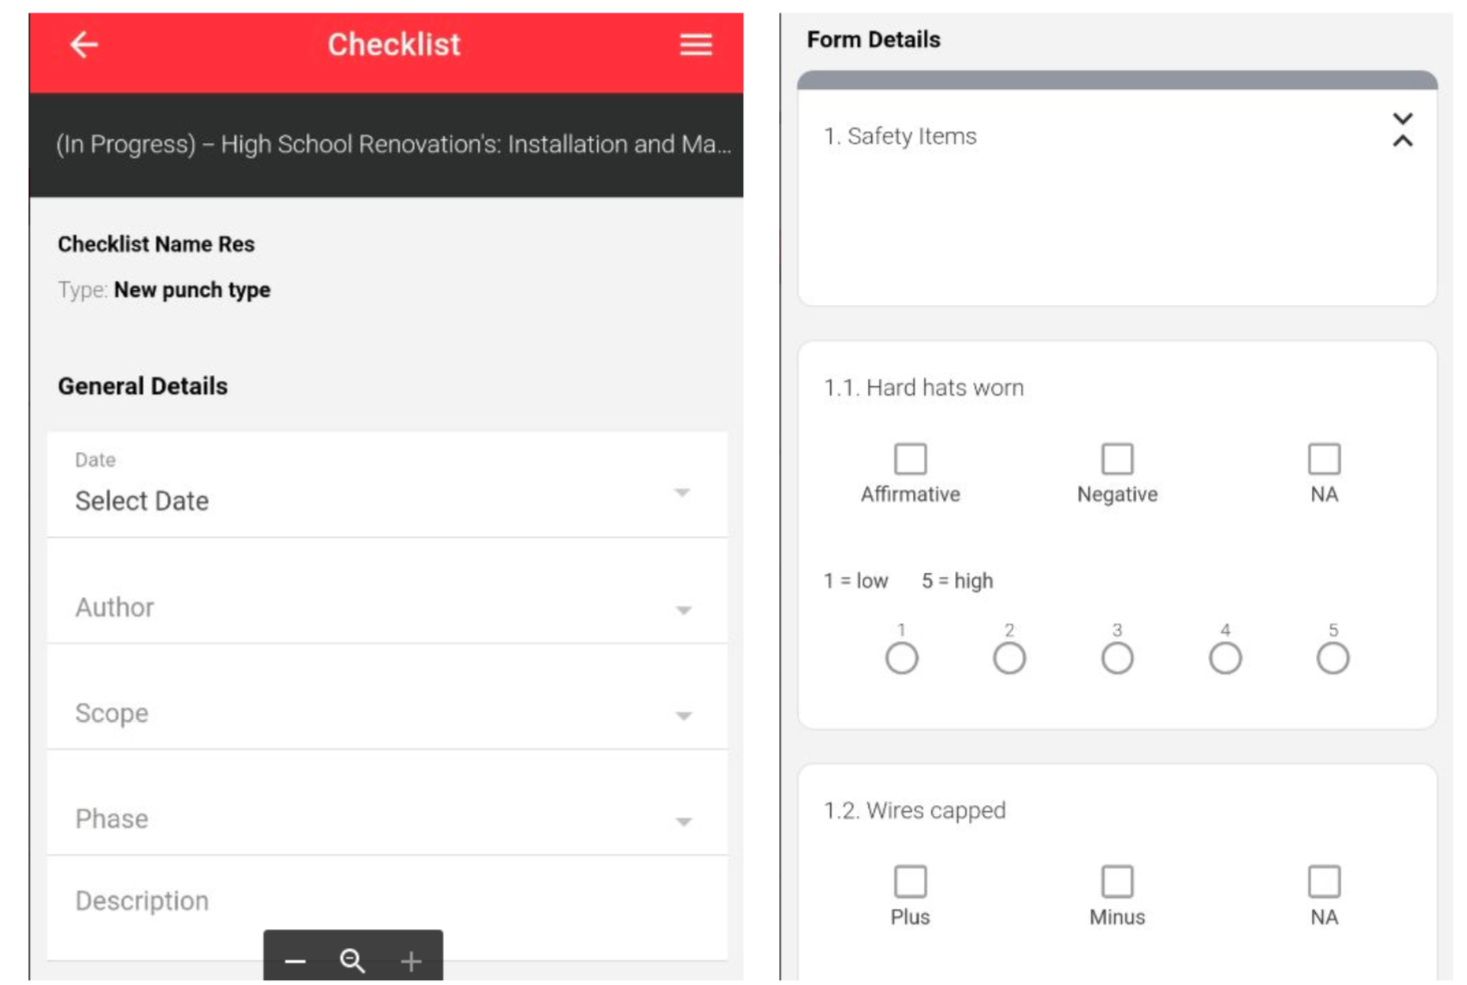
Checklists are now available on the FieldShare mobile app!

Who is impacted by this update?
Users who use the FieldShare app in the field. Typically Project Managers, Site Managers, and Project Superintendents.
Why would you use it?
For standard Checklists you already fill out around the jobsite, for example Daily Safety Checklists.
How to use this feature
You must have the FieldShare app on your mobile device. Log in using your RedTeam login credentials (the same as you use to log in on a browser) and go to the Projects menu. You will see a new option for Checklists. Your company’s database must have Checklist Forms set up in Configuration to use this feature.
Additional details
Click here to read more about how to Configure Checklist Forms.
TeamPlayer: Contract Waivers Status
RedTeam databases that are linked to TeamPlayer can execute Contracts in RedTeam and they will be available for the Vendors to review in the TeamPlayer App. Because RedTeam also tracks the required Waivers for the Vendor and any sub-tier Vendors below them, this information can now be accessed by the Vendor in TeamPlayer.

Who is impacted by this update?
TeamPlayer Users, typically Vendors, who have been issued a contract (Commitment) with required Waivers. Additionally, RedTeam users who want to make this information available to their Vendors using TeamPlayer, typically Project Managers, Project Coordinators, and Project Accountants.
Why would you use it?
If you are a RedTeam user connected to TeamPlayer, you can now direct those TeamPlayer users (Vendors) to see the status of their Waivers, and the Waivers of any of their sub-tier claimants, for each Contract directly from TeamPlayer.
How to use this feature
If your database is already connected to TeamPlayer, this feature will appear automatically for the TeamPlayer users who have been issued Executed Commitments. To learn more about Waivers, click here to read our Wiki.
Additional details
Additional Updates
- Buyout: Warning Message Upon Cancel
- Submittals: Preference to Void Submittal Item Upon “Not Accepted” Response to NTV
- Manage Customer Billing: Speed Optimization
- Add/Edit Vendor Invoice: Speed Optimization
- TeamPlayer:
- Contract: Breadcrumbs Navigation
- Sage 100+300:
- Option to Sync Job Cost by Cost Types (Sage 100+300) & Cost Category (Sage 300 only)
- Import Vendors from Sage will concatenate all Address lines